2002 · Nintendo Entertainment Analysis & Development · action-adventure · Nintendo
Why this one is in the canon, and how to start it well.

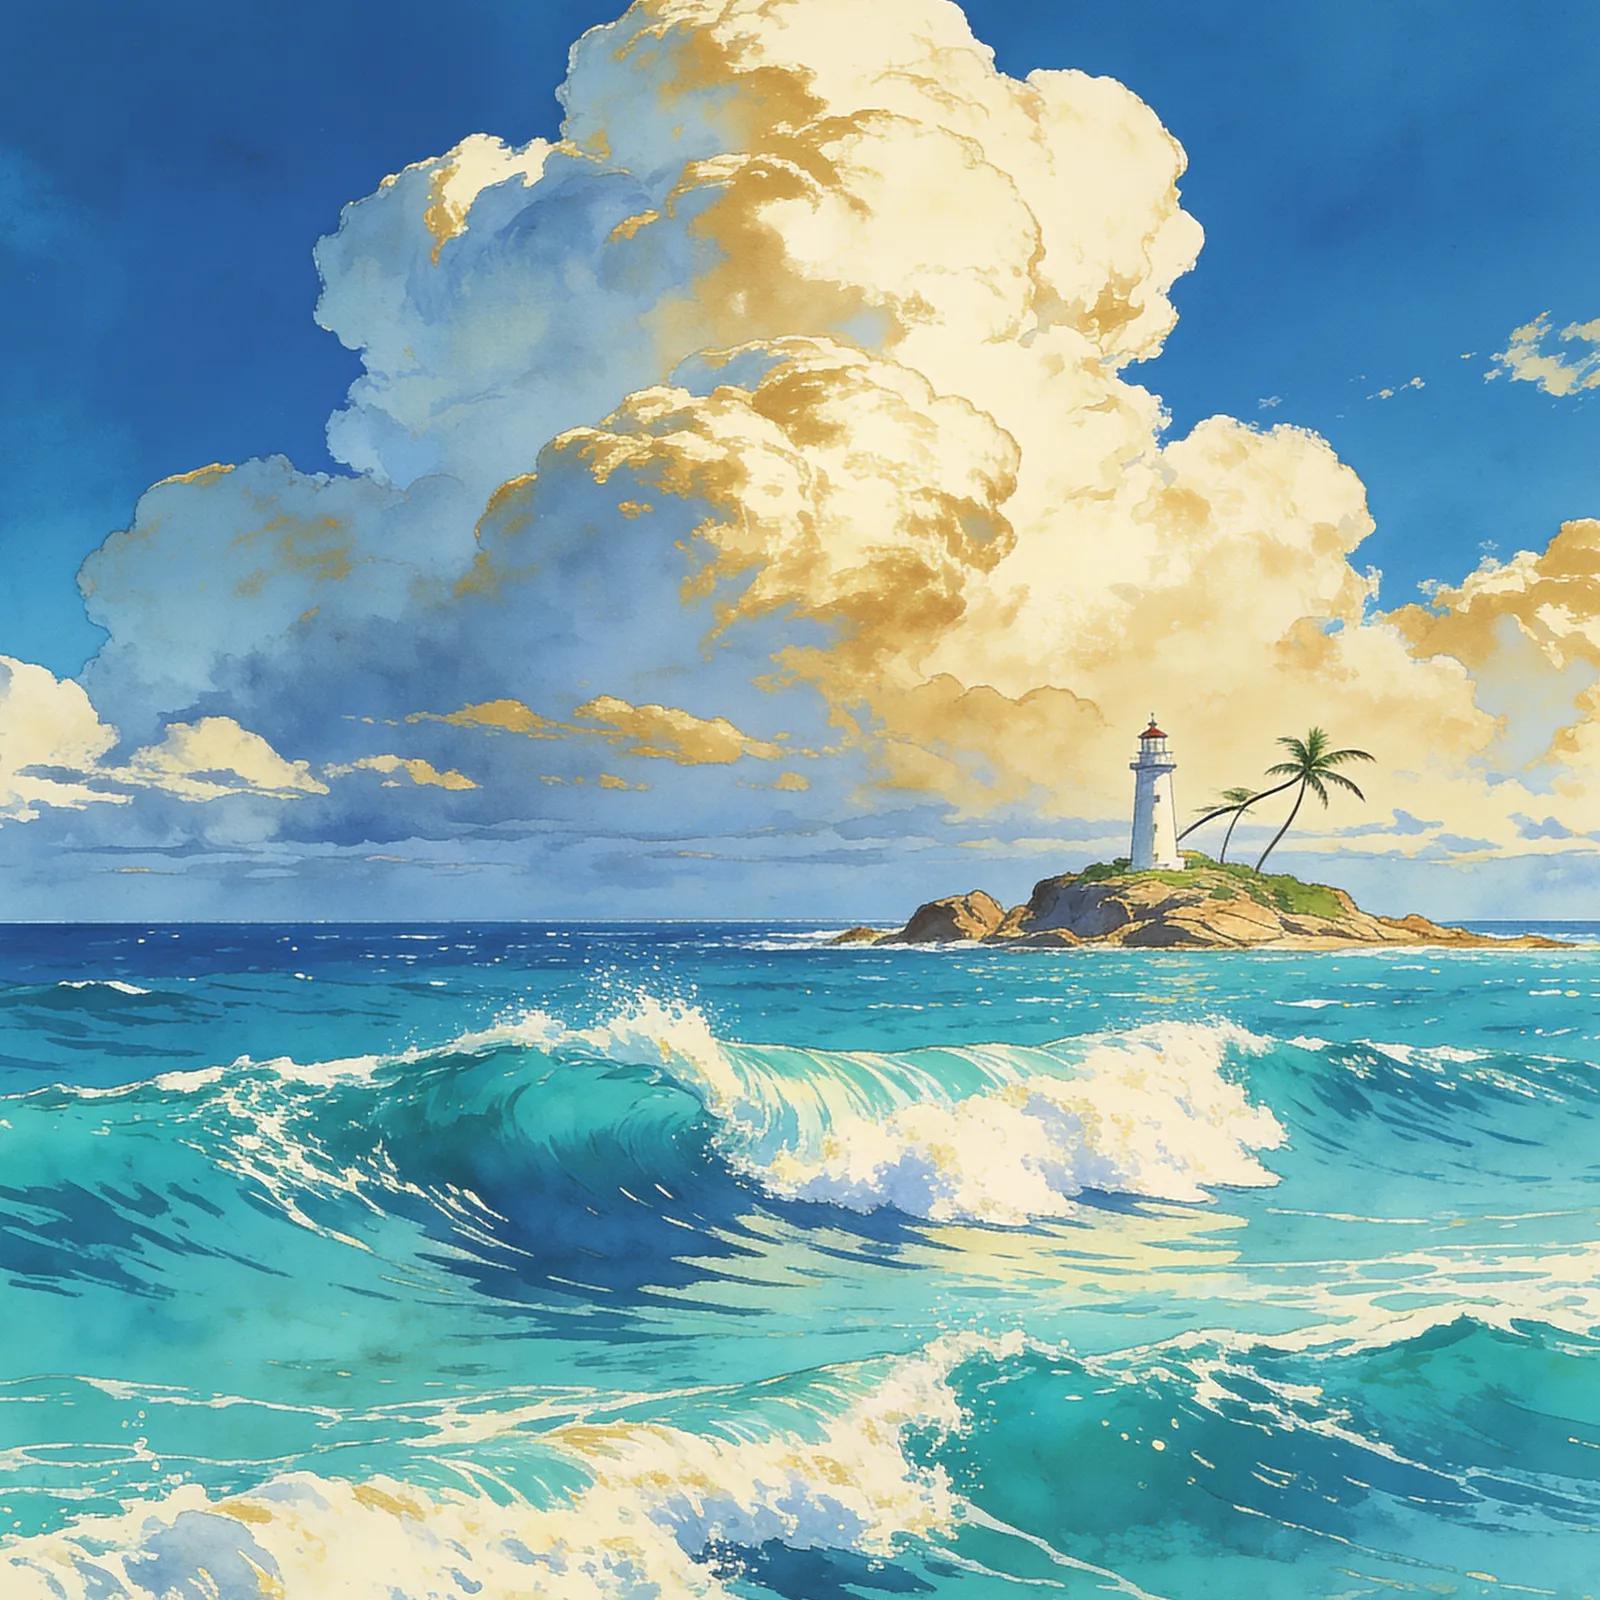
The Great Sea fundamentally restructured Zelda’s overworld logic. Where Ocarina and Majora’s Mask had segmented Hyrule Field into load-zone parcels, Wind Waker rendered 49 grid squares of open ocean with real-time sailing, treasure charts directing players to specific coordinates, and a wind-direction mechanic (the Wind Waker conductor’s baton) that made traversal a musical puzzle. This created the template for Breath of the Wild’s physics sandbox thirteen years later. The cheat-device scene exploded around sequence breaks—Barrier Skip, Zombie Hover, storage glitches—because Action Replay codes could manipulate Link’s position and the game’s event flags in ways that exposed how fragile the intended dungeon order was. TASVideos and the randomizer community have kept Wind Waker in active rotation ever since, dissecting a game that looked like a children’s cartoon but played like a systems engineer’s playground.
Talk to everyone on Outset Island before the pirate ship arrives. Grandma hands over the Hero’s Clothes after the intro; Orca teaches the sword tutorial and gives you the practice sword. You need both before you leave.
Master parry timing in Orca’s house. When an enemy’s eyes flash white, hold A to parry and riposte. Every boss, mini-boss, and armored enemy in the game telegraphs parry windows—drill it now until it’s reflex.
Sail to Tingle Island early and grab the Tingle Tuner. Once you have the sail, head northeast to the island with the rotating Tingle statue. The Tuner enables second-controller co-op (bomb drops, healing) and unlocks Tingle-exclusive treasure chests you can’t open otherwise.
Mark discovered islands on the sea chart the moment you find them. Press Y for the chart, drop custom markers. The Great Sea spans 49 grid squares; unmarked islands disappear into fog and cost you time when you’re hunting side content later.
Track Beedle’s Shop Ship route. Beedle sails a fixed pattern selling bait, potions, and maps—first appearance near Windfall Island. Buy at least one All-Purpose Bait; multiple trading sequences and Reefstone unlocks require it.
Conduct wind direction freely after learning the Wind Waker. C-stick sets the direction: up for north, right for east. The Wind’s Requiem (up-left-right) lets you set favorable winds before long sails—fighting headwinds doubles travel time.
Collect Rupees from grass and pots obsessively. Tingle’s chart decryption costs 398 Rupees per chart, Windfall’s auction gate is 500, and wallet upgrades are mandatory. The starting wallet caps at 200; you need the 1,000-Rupee wallet from Outset’s Fairy Fountain before Tingle’s fees become manageable.
Mark treasure charts on your Sea Chart the moment you fish them up. Open the chart, then open your Sea Chart and press Y to stamp the coordinates. The game won’t do it for you, and you’ll forget which salvage points you’ve cleared.
Bait Bag first, Tingle Tuner never. The Bait Bag from Beedle’s Shop Ship (All-Purpose Bait for 20 Rupees) unlocks Hyoi Pear seagull possession—critical for scouting islands and finding obscure treasure. The Tingle Tuner requires a GBA link cable and is skippable for 100% completion; don’t waste 398 Rupees on it early.
Sail into the wind anyway. The Wind Waker’s sailing feels slow because you’re supposed to change wind direction with the Wind’s Requiem, but the King of Red Lions moves at 80% speed even against the current. For short hops (1–2 squares), just point and go rather than conducting every time.
Empty bottles are dungeon keys. Forest Water (from Forest Haven) is mandatory for Fire Mountain and Ice Ring Isle; you need two bottles minimum to avoid backtracking. Grandma’s Elixir refill is infinite, making her soup the best healing item in the game—but you sacrifice a bottle slot permanently if you don’t empty it.
Picto Box upgrades gate Tingle Island. The Deluxe Picto Box (color photos) is required for the entire Nintendo Gallery sidequest, but you can’t get it until after the Forbidden Woods. Lenzo’s three photo assignments in Windfall unlock it; complete them before progressing to Greatfish Isle or you’ll waste a dungeon cycle.
Grappling Hook range is deceptive. The Z-target reticle turns red when enemies are in sword range, but the Grappling Hook’s latch distance is 30% farther. You can steal items from Bokoblins and Moblins before they aggro if you hook from maximum range.
The walls players actually hit, and the way through each.
Dragon Roost Cavern — Bomb Flower Escort
The first dungeon’s lit Bomb Flower gauntlet stops players who think they have to sprint the whole route. You don’t. The fuse timer resets when you drop and re-pick the bomb — the game never tells you this. Drop the flower before each wooden platform climb, scale it, grab the bomb again. Players who white-knuckle the carry watch their bomb detonate mid-ladder and loop the sequence for nothing.
Forbidden Woods — Boko Baba Seed Planting
The central room’s upper soil patch is invisible from the ground, and the Deku Leaf glide doesn’t telegraph the angle. Stand on the east balcony where you entered, glide toward the central pillar, then bank hard left mid-flight. The soil patch sits on a wooden platform you can’t see until you’re airborne. Plant the seed, drop, water it with Forest Water, ride the stalk to the boss door.
Tower of the Gods — Second-Floor Block Puzzle
Three statues, three light beams, one movable block — players burn 20 minutes trying horizontal solutions because the camera hides the real move. Push the block onto the central elevator, ride up one floor, then shove it off the platform onto the switch above. The solution is vertical. If you’re stuck here, look up.
Triforce Chart Decryption Cost
Tingle charges 398 Rupees per chart to decrypt eight Triforce charts — 3,184 Rupees total. Players who skipped farming hit a wall. Fastest fix: Windfall Island at night. Break into the rich townspeople’s homes (pictograph the guard to learn his patrol route), smash every pot, loot every chest. Exit and re-enter buildings to respawn containers. Or farm the Ghost Ship’s interior — each clear nets 200+ Rupees across four rooms cite.
15 of 97 verified codes, free to read. The rest are in the Code Vault.
060037E0 00000010809C0004 3C00C2F69004000C 4815D85406004038 000000C0C002806C D0030014387B288C 481B2938C002806C D00300142C1C0002 481C1138C0010008 C0428E74C06288A4 EC020028EC030032 EC220028480DD5C4 9421FFF07C0802A6 9001001438628C1C C022B6AC003C4D4D 000000FF023C4C0C 000003E8023C4C0C 00001388003C4C1A 00000001003C4C1A 00000002003C4C77 00000063003C4C78 000000630x803C4C0B:byte:0x000000500435DF6C 004C004C003C5260 00000001023C52AC 0003FFFF023C52B8 0005FFFF003C52C8 000000FF023C52DC 0000FFFF003C4C16 0000003E003C4CBC 0000000F003C4CC7 00000007003C524A 00000040023C4CDC 0003FFFF003C4CC5 0000003FGameShark Labs · SharkVault Founding Membership
Unlock the full guide
9 more sections + all 97 codes in the Code Vault : boss strategies, glitches, easter eggs, and the complete archive. Founding Members get every GTA drop through launch day.
Only 64 days until GTA VI. lock in $1.99/mo for life before the founding rate closes (then $2.99/mo).
Surfaced from external sources, newest first. Not editorially endorsed.· 12 more in this feed.· 1 placed beside the section it relates to above.