1995 · Rare · platformer · Nintendo
Why this one is in the canon, and how to start it well.
Game Genie and GameShark codes for 99 lives, invincibility, and Kremkoin unlocks became playground standard issue; the game’s late-stage difficulty made infinite-lives entries almost mandatory for younger players finishing the campaign. Advanced GameShark codes let players bypass the 75-Kremkoin gate to the Lost World or warp straight to Krocodile Kore. Speedrun.com and TASVideos have documented the frame-perfect movement tech that turns DKC2 into a precision instrument—team-throw momentum carries, damage boosts, zip glitches—and it remains a speedrunning fixture. DKC2 is the definitive Super Nintendo platformer for players who want challenge, atmosphere, and a game that rewards system mastery.
Pick Dixie for exploration, Diddy for speed. Dixie’s ponytail hover extends jumps and covers missed platforms; Diddy runs faster and jumps higher but offers no air control. Swap between them with A — you control both until one takes a hit.
Collect 47 Kremkoins to unlock the Lost World. Each level hides a bonus barrel (sometimes two); clear the challenge inside to earn a Kremkoin. You need these to pay Klubba’s toll on the overworld map. The world map tracks your completion percentage.
Find DK Barrels when you lose a Kong. Breaking a DK Barrel restores your partner. They’re placed generously in early levels but become scarce later. Down to one Kong? Play cautiously until you find the next barrel.
Ground-pound (Down + Y in midair) reveals hidden items. Certain planks, dirt patches, and floor tiles hide banana bunches, animal tokens, or bonus-barrel entrances. The visual cue is subtle — look for discolored or slightly raised tiles.
Save at Kong Kollege between worlds. Wrinkly Kong charges 2 banana coins per save. Coins appear as collectibles in levels or drop from certain enemies. The game has no auto-save; losing all lives boots you to the last manual save.
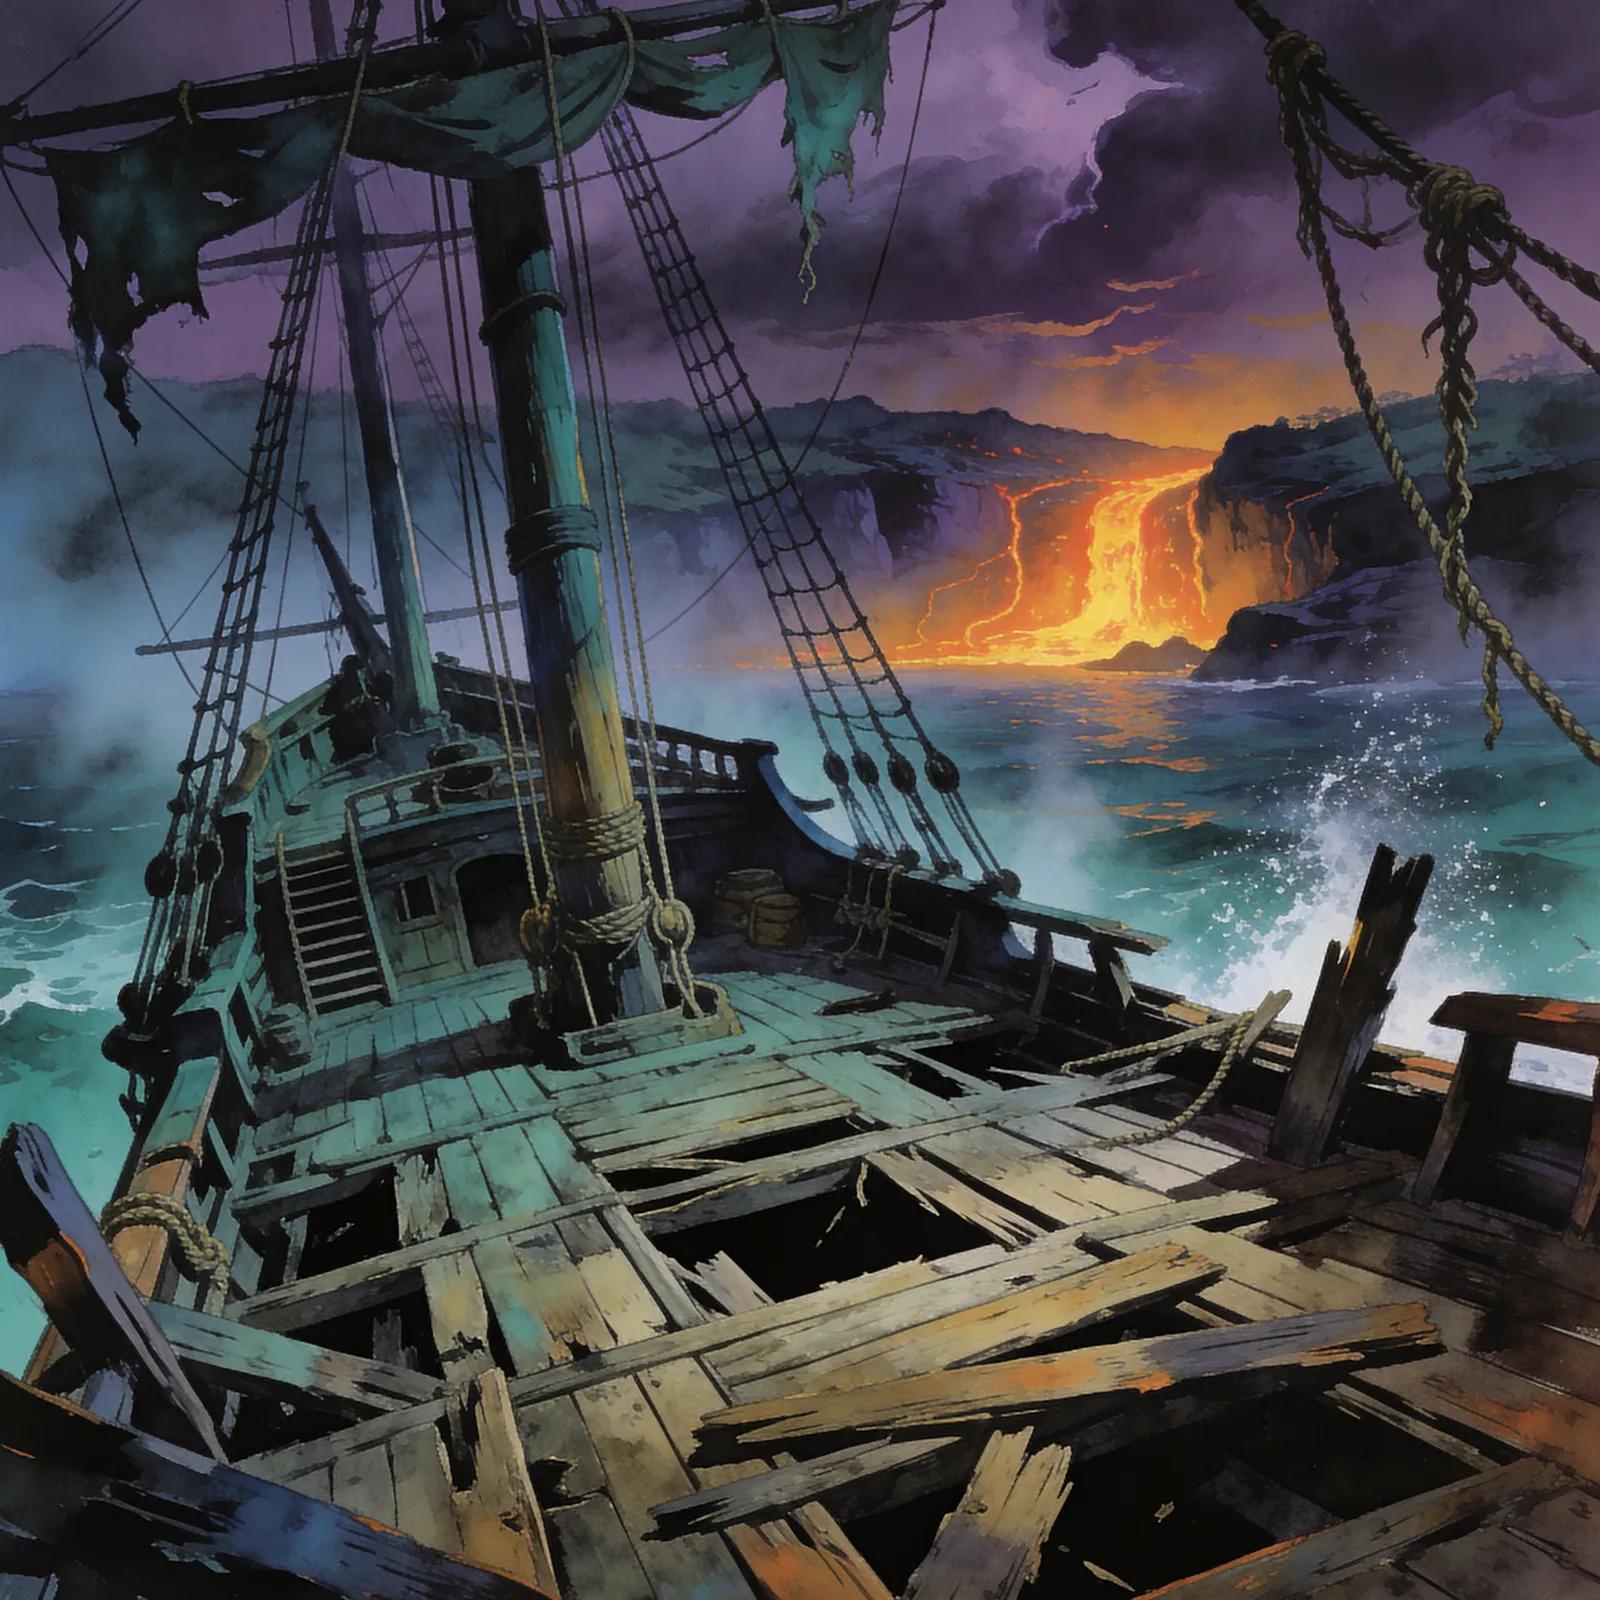
Replay Pirate Panic (first level) to farm lives. The opening stage has low-risk 1-up balloons and a quick bonus barrel. Exit and re-enter to reset collectibles — useful before tackling later worlds.
Animal buddies can’t leave their designated areas. Rambi, Squawks, Rattly, Squitter, and Enguarde appear in specific sections. A “No Animals” sign blocks passage. Backtrack with the animal to grab collectibles you missed, but you must dismount to progress.
Kremkoins unlock the Lost World — every bonus room awards one Kremkoin when completed, and you need 15 total to access Krocodile Kore, the game’s true final zone. Missing a bonus room means backtracking later; the DK Barrel hint system shows you when a stage still has uncollected Kremkoins.
Team-up throw reaches otherwise impossible heights — press A while both Kongs are active to hoist your partner overhead, then throw upward with Y. This launches the airborne Kong significantly higher than a solo jump and is required for several DK Coins and hidden barrels. Practice the timing in Mainbrace Mayhem before attempting vertical bonus-room entrances.
Squawks the Parrot trivializes bramble stages — when you find the Animal Barrel, keep Squawks alive through the entire level. His egg-spit clears enemies at range and his flight negates all platforming risk. Losing him in Bramble Blast or Bramble Scramble forces blind jumps through one-hit-kill thorn corridors.
DK Coins require suicide runs — each stage hides one large DK Coin guarded by a Koin enemy who faces the screen with a shield. You must throw a barrel past him so it ricochets off a wall and hits from behind. If you’re down to one Kong, grabbing the coin often means taking intentional damage to reset with both characters before the boss.
Dixie’s helicopter spin grants forgiveness — hold Y in midair after jumping to slow her descent and extend horizontal distance. This turns marginal jumps into safe ones and lets you correct trajectory mistakes. Diddy’s cartwheel is faster on flat ground, but Dixie’s air control makes her the safer pick for precision platforming.
Rattly’s super-jump has a charge window — hold down on the d-pad for one full second, then release and press jump. The visual cue is Rattly crouching lower; releasing early yields a normal jump. This technique reaches several high bonus barrels in Topsail Trouble and Slime Climb.
The walls players actually hit, and the way through each.
Bramble Blast (World 2-5) — The auto-fire barrel sequence near the midpoint kills more first-timers than any other stretch in the game. You’re not fighting the barrels; you’re fighting the rhythm. Each barrel has a fixed rotation speed. Wait for the visual alignment — don’t mash. The Zingers patrol in loops; fire early and you hit the bee. Wait one full rotation cycle and the gap opens. Players who treat this like a reflex test fail. Players who count one-Mississippi between shots clear it in three attempts.
Toxic Tower (World 5-Boss Level) — The rising poison goo is a timer, but the real killer is the blind vertical jumps in the rope-climb sections. You cannot see what’s above you. The solution: every rope climb in Toxic Tower follows left-right-left alternation. First rope = jump left. Second rope = jump right. Third rope = jump left. Rare baked this pattern into the level geometry. Players who guess randomly die. Players who internalize the alternation reach Kleever’s arena with 30+ seconds to spare.
Animal Antics (World 6-5, Squawks segment) — The vertical wind tunnel with the barrel-blasting Zingers has a 60%+ death rate even among players who’ve cleared the rest of Lost World. The mistake: trying to fight upward momentum. You can’t. Squawks’s spit has travel time; the Zingers move faster. The trick is pre-firing — shoot where the Zinger will be in 8 frames, not where it is now. Treat it like skeet shooting. Aim at empty air ahead of the patrol path. The projectile and the enemy converge. Players who react to visible threats never make it past the third Zinger. Players who lead their shots clear the tunnel without taking damage.
Castle Crush (World 4-5) — The descending ceiling creates panic. The actual threat is the respawning Klampons in the narrow corridors. You cannot kill them fast enough. The intended solution: use the barrel-roll through them (Y-button while running). Invincibility frames let you pass through the Klampon hitbox. Players who try to jump over them in tight quarters get cornered by the ceiling. Players who barrel-roll treat Klampons like scenery and focus on the real platforming challenges — the moving platforms and gap timings.
15 of 115 verified codes, free to read. The rest are in the Code Vault.
7E08CA637E08CE637E08CC637E0D5C007E8015FF7E8016FF7E00D5FF7E002AFF7E002CFF7E8019FF7E8013FF0C27-4A8B0C27-4AEB0C27-427B6227-425B7E08A4007E060B01DBE4-5321EBD0-735AE1D0-735AECD0-735A7E091F00EBD7-5AEAE5D7-5AEAGameShark Labs · SharkVault Founding Membership
Unlock the full guide
9 more sections + all 115 codes in the Code Vault : boss strategies, glitches, easter eggs, and the complete archive. Founding Members get every GTA drop through launch day.
Only 64 days until GTA VI. lock in $1.99/mo for life before the founding rate closes (then $2.99/mo).
Surfaced from external sources, newest first. Not editorially endorsed.· 10 more in this feed.· 2 placed beside the sections they relate to above.