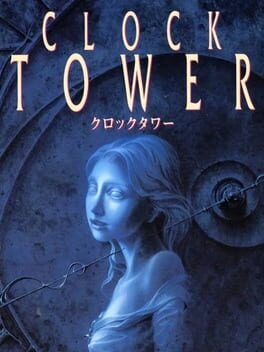
1995 · Human Entertainment · survival-horror · Nintendo
11 sources · 40 facts · verified 3mo ago · how this was made
Why this one is in the canon, and how to start it well.
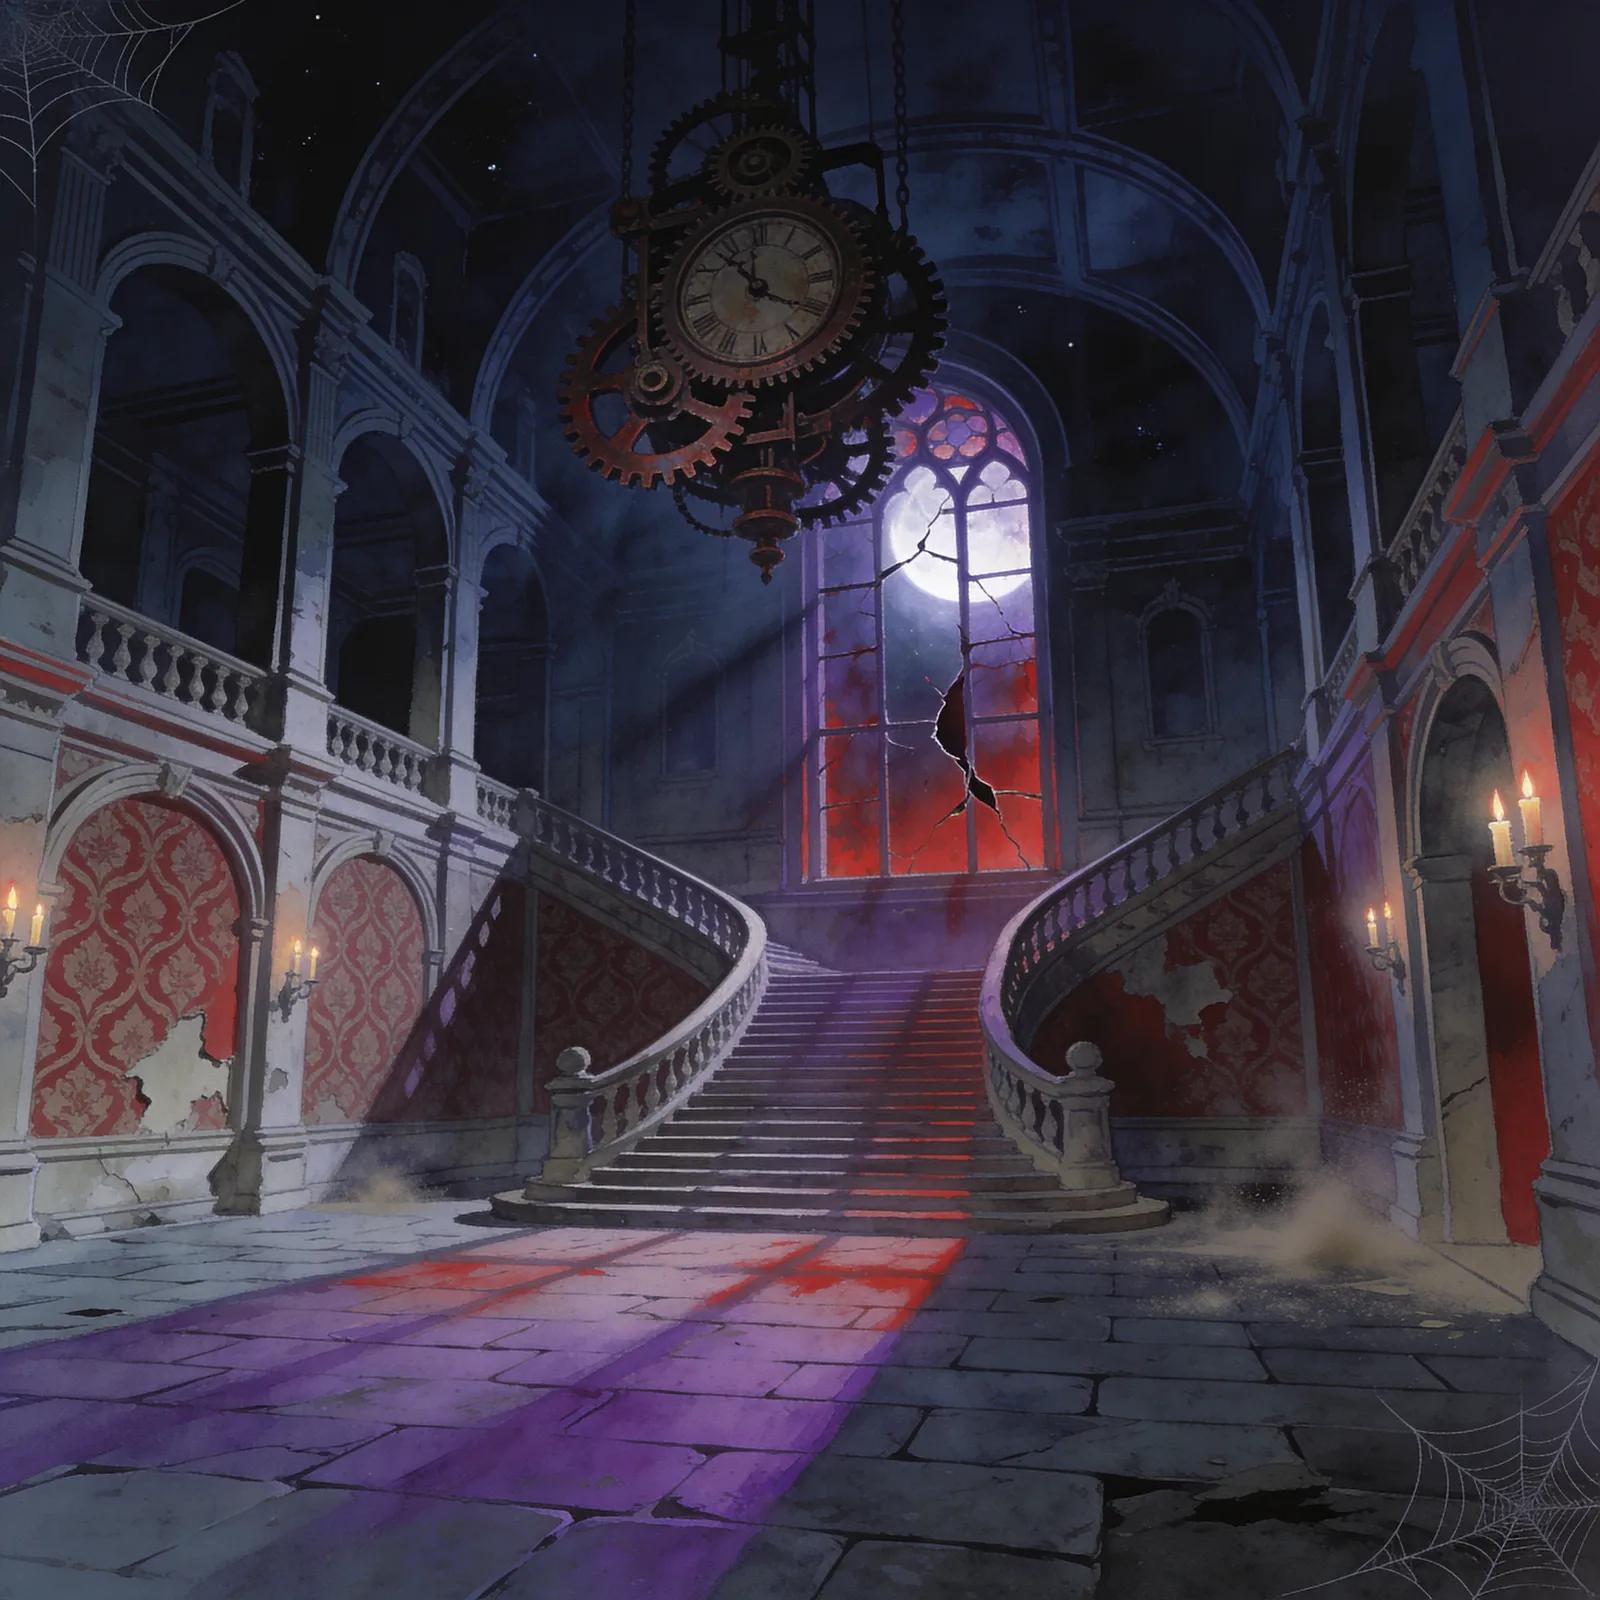
The 'rotoscoped from cg' clock tower sequence in disney's 'the great mouse detetctive' is still a sight to behold. Wonder how much it influenced the continued presence of clock tower sequences in Castlevania games
Every named code, glitch, and easter egg above traces back to one of these sources. SharkVault editorial AI is grounded in human-curated facts files; nothing on this page is invented.
The cheat-code scene around Clock Tower is thin — Human Entertainment’s point-and-click structure didn’t map to the infinite-ammo or invincibility paradigms that defined Game Genie catalogs — but the game’s design became a blueprint for every hide-and-seek horror title that followed. Scissorman’s pseudo-random triggers, the portrait-color health system, the deliberate unreliability of hiding spots: these mechanics taught a generation of import players that survival horror rewards caution over firepower, and that the scariest enemy is the one you can’t kill. When Resident Evil and Silent Hill arrived a year later with bigger budgets and polygonal dread, they were walking a path Kono had already cleared with a 4 MB cartridge and a pair of garden shears.
Explore the foyer immediately. Check every door on the ground floor before heading upstairs — the mansion layout randomizes certain item placements and event triggers each playthrough, so early reconnaissance matters.
Grab the first weapon you see. Ground-floor rooms spawn a defensive item — stick, statue, or candelabra. Pick it up. You get one use to stun Scissorman when he shows; after that, it’s dead weight.
Master the panic mash. When Jennifer’s portrait flashes red and the heartbeat pounds, Scissorman is hunting. If he corners you, mash every face button to break free or shove him back. Hesitate and you’re dead.
Save at the parrot. The talking parrot in the small study is your first save point. Interact to record progress. The mansion has only a handful of save points total — use them before major pushes.
Don’t sprint everywhere. Holding B runs, but it drains Jennifer’s stamina (watch the portrait). Low stamina means slower panic response and higher chance of instant death during chases.
Check behind you constantly. Scissorman spawns dynamically based on your location and actions. He doesn’t always announce himself with a cutscene — just giant scissors scraping stone and that music sting.
Examine everything twice. The cursor changes shape over interactive objects. Some items require multiple examinations or specific inventory combinations to reveal their use. The game does not hold your hand.
Hiding spots aren’t safe indefinitely — Scissorman checks closets, beds, and curtains if he saw you duck in. Wait for his music to fade completely before you move, and never use the same spot twice in a row.
The panic button is a death sentence — Mashing B makes Jennifer stumble, slowing her down and closing the gap. Only spam it when Scissorman is one step behind; otherwise, walk deliberately and conserve stamina.
Cursor hunting wastes time you don’t have — Memorize the handful of objects that matter: keys, the lighter, the perfume bottle, certain switches. The game baits you with dozens of red-herring examine points that do nothing but trigger Scissorman spawns.
Save points reset enemy aggression — The grandfather clock save rooms act as soft checkpoints. If Scissorman is actively chasing and you reach one, save immediately; when you reload, his pursuit state resets and you get a brief window of safety.
The multiple endings hinge on companion survival — Keeping Laura, Ann, and Lotte alive requires specific item usage and route choices (spoiler: the ham, the perfume, checking certain rooms in specific orders). One wrong interaction locks you out of Ending S without warning.
Sound cues are more reliable than visuals — Scissorman’s scissors-scraping audio has directional tells. Listen for the stereo panning to gauge which hallway he’s approaching from, especially in multi-door areas where line-of-sight is blocked.
The first Scissorman encounter is scripted — You cannot avoid the initial chase in the foyer. Don’t waste time exploring downstairs before triggering it; head straight for the second floor after the intro to get the mandatory sequence over with.
The walls players actually hit, and the way through each.
First Bathroom Encounter with Scissorman
The second-floor bathroom triggers the game’s first mandatory Scissorman chase. Many players panic and run into dead ends or fail to recognize the interactive hiding spots. The bathtub and shower curtain both work — press A when the prompt appears. If Scissorman checks your hiding spot, the game rolls a randomized detection check; flee to a different room immediately and find another spot. The pattern resets when you change floors via the main staircase. Run downstairs, hide in the study’s armor suit or behind the grandfather clock, wait for the music to calm, then move.
Clock Tower Third Floor — Crow Attack Loop
After obtaining the first-floor key items, ascending to the third floor spawns a crow that swoops Jennifer in the narrow hallway. Players often take repeated damage trying to rush past. Equip the slingshot (courtyard shed or second-floor storage, depending on randomization) before climbing the stairs. Fire once as the crow approaches — single hit kills it. Without the slingshot, bait the crow’s dive, duck into the nearest doorway as it passes, then sprint past while it circles back. The timing window is tight but consistent.
Library Puzzle — Mary’s Diary Sequence
The library requires three specific books to reveal Mary’s diary, but the game never explicitly states which titles. The correct sequence cite: “The Tale of the Scissorman” (red spine, middle shelf), “Nordic Folklore” (blue spine, bottom shelf), and “Human Anatomy” (black spine, top shelf — requires the step stool from the adjacent room). Examine each in order, then check the leftmost bookshelf again. The diary appears only if you’ve triggered the second-floor portrait event first. If the diary doesn’t spawn, backtrack to the portrait hallway and examine the painting of Mary until Jennifer comments.
Final Confrontation — Killing Scissorman vs. Escape Endings
The clock tower finale offers multiple outcomes. To achieve the “kill” ending rather than escape endings, Jennifer must have the pistol (hidden in the chapel basement behind the loose brick — examine the wall left of the altar) AND have found all three diary pages scattered through previous chapters. Fire three shots when Scissorman corners you in the gear room. Missing any diary page locks you into escape-only endings regardless of having the weapon.
All 15 verified codes for Clock Tower, free to read.
7FCF5DFF7FCF5B007FCF3B017FCF3B027E131C137E0BF9647E1323007FCF57FF7FCF4B007FCF41007FCF51007FCF49007FCF4E017FCF60007FCF4300GameShark Labs · SharkVault Founding Membership
Unlock the full guide
9 more sections : boss strategies, glitches, easter eggs, and the complete archive. Founding Members get every GTA drop through launch day.
Only 64 days until GTA VI. lock in $1.99/mo for life before the founding rate closes (then $2.99/mo).
NEW VIDEO! Clock Tower turns 30 years old this year, and is one of the underappreciated founding fathers of the horror genre. This video is both a deep dive and a love letter to this SNES classic - today, let's talk about how Clock Tower became my favourite horror game ✂️ youtu.
tangomushi (@tangomushi.bsky.social)
clock tower 2 is not a good game but it does contain "if i was being attacked by a demon possessed child i would simply kick their ass"
Colin Spacetwinks (@spacetwinks.bsky.social)
A Japanese commercial for 'Clock Tower 2' on the PlayStation.
PlayStation Park (@playstationpark.bsky.social)
Surfaced from external sources, newest first. Not editorially endorsed.