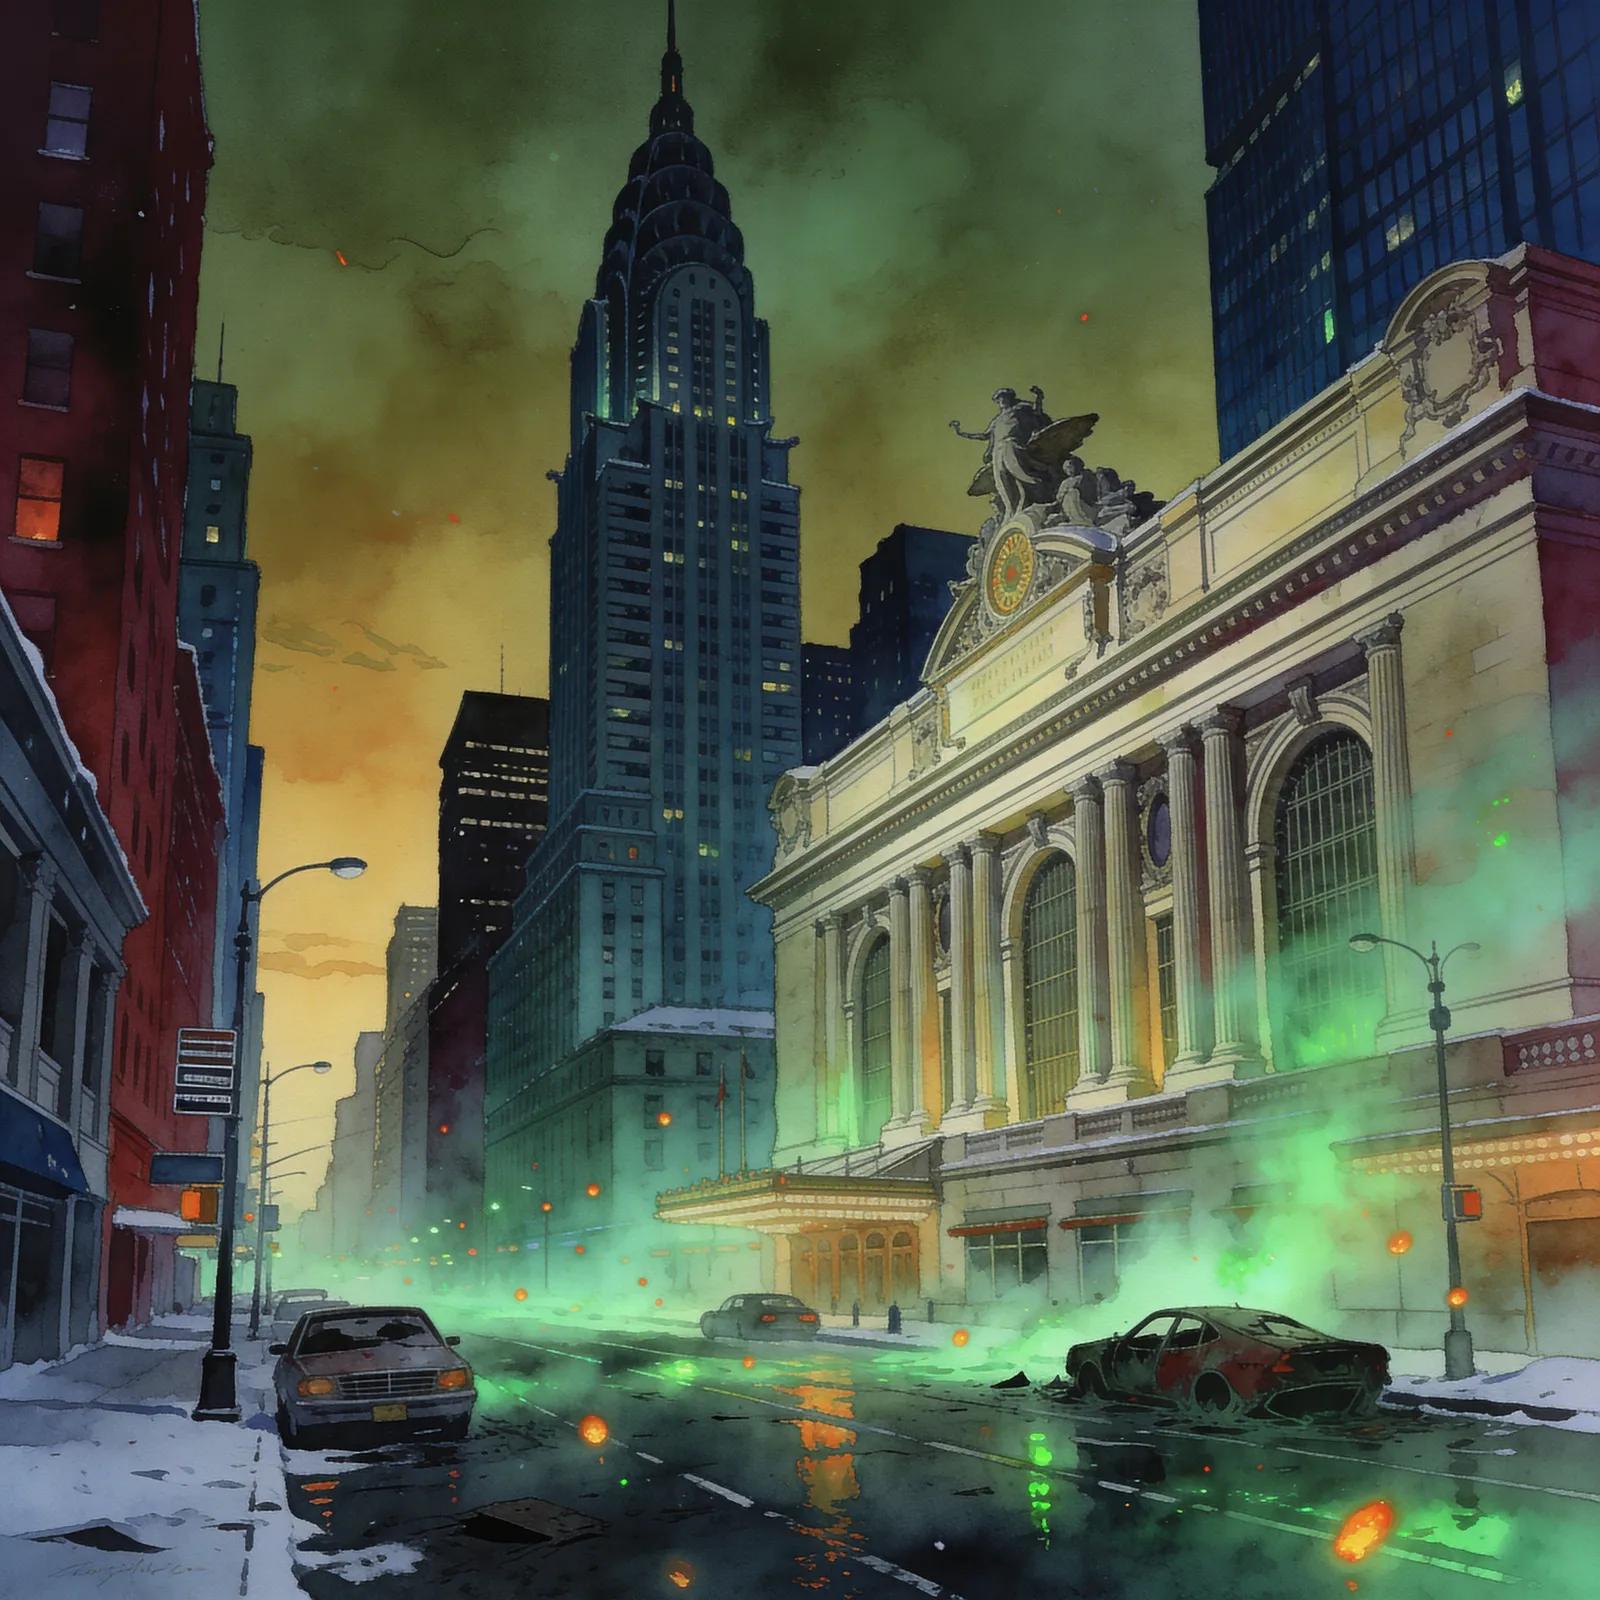
1998 · Square · action-rpg · Sony
24 sources · 58 facts · verified 3mo ago · how this was made
Why this one is in the canon, and how to start it well.
Every named code, glitch, and easter egg above traces back to one of these sources. SharkVault editorial AI is grounded in human-curated facts files; nothing on this page is invented.
The cheat-code culture that formed around Parasite Eve reflects its dual identity: GameShark owners bypassed the grinding required for tool attachments and BP farming, unlocking the post-game Chrysler Building gauntlet and its 77-floor randomized nightmare without the stat curve. The EX Game mode—unlocked only by clearing the original campaign—became the real proving ground, and codes for infinite BP, max stats, and one-hit kills let players experiment with the weapon-mod system (tools, effects, trading) without the survival-horror resource anxiety. Square’s PlayStation catalog attracted a different kind of code user than Konami or Capcom: players who wanted to see the systems, not just survive them. Parasite Eve rewarded that curiosity with some of the deepest gear mechanics the PS1 ever shipped, and the GameShark made the laboratory accessible on day one.
Save at the police station immediately. After the opera house and your first combat, you land at the NYPD precinct. Save in the briefing room—Parasite Eve never autosaves, and early rats kill faster than you think.
Equip armor first, weapon second. Triangle opens the menu; prioritize Defense over Attack. Aya’s HP is thin, and Day 1 rat swarms hit hard.
Burn Parasite Energy freely. The PE meter (blue bar) refills after every fight. Heal whenever you need it—there’s no MP economy. Fire and Ice unlock within two encounters; use them.
Grab every blue sparkle. Ammo, healing items, and Tools (for weapon/armor mods later) appear as glowing pickups. Handgun rounds stay scarce until you find the shotgun.
Move during Active Time cooldown. Combat runs in real time, but your attack command has a cooldown bar (bottom-right). Circle-strafe enemies while the bar refills—standing still gets you shredded.
Talk to Wayne at the precinct between Days. He handles weapon and armor customization. Even if the Tool system looks opaque, he’ll explain it, and you’ll need him by Day 2.
Stock 4+ Medicine before the Eve-Rat boss. If you skipped sewer encounters, you’re Level 3–4 and one hit from death. Grind one fight or stock 4+ Medicine items—your call.
Armor beats weapons early. PE slots in your armor determine total inventory capacity for tools and keys, not just defense mods. Prioritize high-slot vests over raw attack power until you’ve cleared the museum; running out of item space mid-dungeon forces backtracking.
Junk weapons are Tool fodder. Every gun and armor piece can be broken down into Tools at the precinct workbench. Hoard spare pistols and vests from random drops—you’ll need the raw materials to transfer BP and slot bonuses between gear as you progress.
PE recharges between random encounters only. Your Parasite Energy bar refills after scripted story battles but not during multi-wave random spawns in the same screen. If rats keep respawning in the sewers, your PE stays drained until you leave the area. Manage your healing spells accordingly.
The AT bar punishes menu diving. Active Time keeps ticking while you’re in the item menu. Enemies get free turns if you’re slow selecting Medicine or swapping weapons mid-fight. Pause with Select to study the field, then execute quickly.
Bonus Points expire if you don’t bank them. BP earned from kills must be manually applied at a workbench or they vanish on Game Over. After tough fights, make a save-point trip before pushing deeper—there’s no auto-banking.
Trading Post prices scale with story progress. Wayne’s shop inventory rotates and reprices after each Day transition. If you’re grinding for a specific attachment, buy it before advancing the plot or it may disappear from stock.
Liberation targeting is range-dependent. Aya’s signature spell has a hidden distance falloff. Stand too far back and it whiffs entirely, wasting PE. Close to mid-range ensures the DNA helix connects.
The walls players actually hit, and the way through each.
Day 2 Warehouse Rats — The sewer beneath the warehouse throws waves of mutant rats at Aya while she’s still carrying the starting M93R pistol. The rats move fast, stun-lock on contact, and respawn until you reach the exit ladder. Don’t fight them all. Equip the Firefly armor (police station locker room, Day 1) for poison resistance, then sprint straight through the flooded corridors. If you must engage, switch to the P08 handgun for faster fire rate and keep moving laterally — standing still gets you swarmed.
Day 3 Museum T-Rex — The Tyrannosaurus boss has a deceptive hitbox and one-shots underleveled Ayas with its charge. The arena is circular with pillars; use them. Bait the charge, sidestep behind a column, then unload into the flank while it recovers. Don’t waste Parasite Energy on offensive spells — save PE for Healing and keep distance. If you sold the Mongoose rifle to the weapon trader earlier, you’re stuck with the M93R; aim for the head during its roar animation for critical damage windows.
Day 4 Subway Alligator Gauntlet — The flooded subway tunnels force Aya through narrow corridors with mutant gators that inflict Poison and Darkness status. Players often run out of Medicine between safe rooms. Backtrack to the ticket booth save point and stock up before descending. Equip the N-Spader armor (dropped by the Centipede boss on Day 3) for Poison immunity. Use the MP5A5 submachine gun’s spread to hit multiple gators in tight spaces. Don’t waste inventory slots on Antidotes if you have N-Spader equipped.
Day 5 Statue Puzzle — The Statue Hall requires pushing four angel statues onto pressure plates in a specific order, but the game gives zero feedback when you’re wrong. The correct sequence cite: North, East, South, West (clockwise from the entrance door). If statues won’t budge, you’ve already placed one incorrectly — reset by leaving the room entirely and re-entering. The statues lock in place once correct, so you can’t accidentally undo progress.

15 of 27 verified codes, free to read. The rest are in the Code Vault.
D009D0F000053009CEA00005D009D0F000063009CEA000068009CEF0FFFF800C0E80007D300B0CE2000A300B0CE2000BD009D0F000038009D2806048D009D0F000033009D2820006800B8A4203E7800C0E241FFF80056BE000008004AAAC0000800B8A2C03E7800B8A3C03E7800B8A2A270F800B8A4E270F300B0CE2000C800C0E3203E0GameShark Labs · SharkVault Founding Membership
Unlock the full guide
9 more sections + all 27 codes in the Code Vault : boss strategies, glitches, easter eggs, and the complete archive. Founding Members get every GTA drop through launch day.
Only 64 days until GTA VI. lock in $1.99/mo for life before the founding rate closes (then $2.99/mo).
Surfaced from external sources, newest first. Not editorially endorsed.